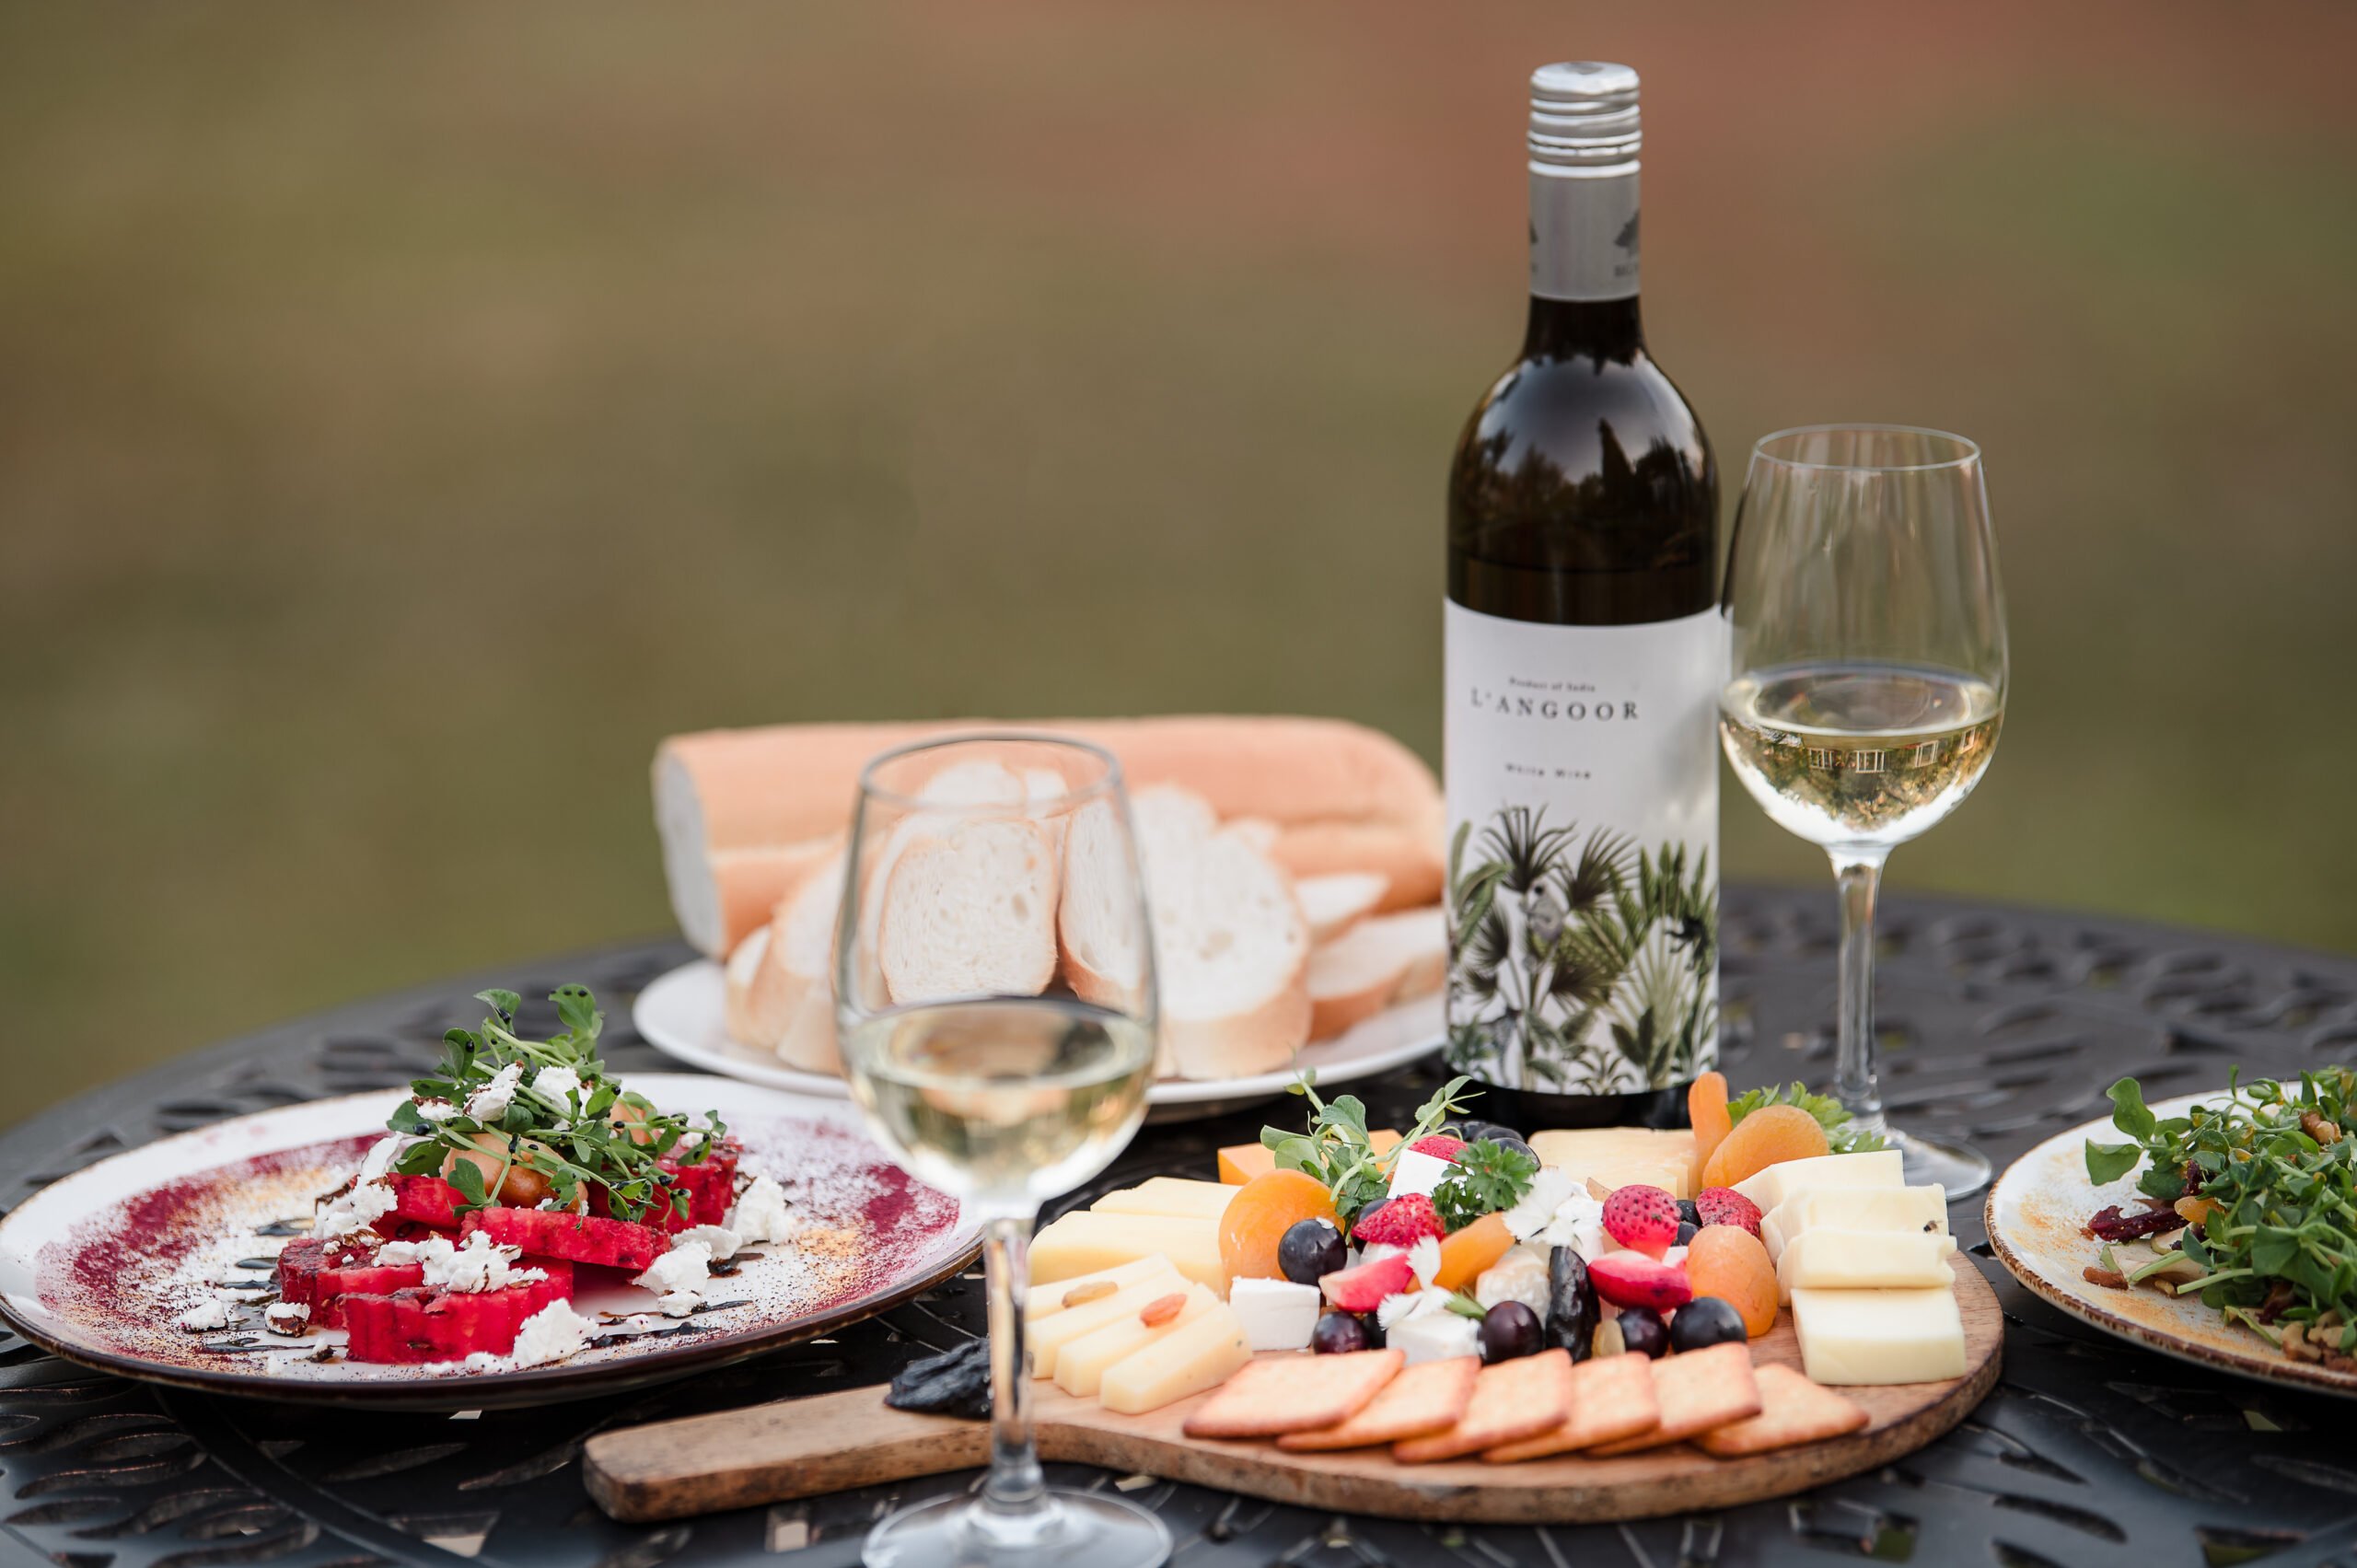
It’s the season of merry making. The last week of December is one endless stream of parties. Wine is almost the natural choice of drink during this season. Serving it up in interesting ways can pose quite a challenge. To keep it pocket friendly, specially when you’d like to pair it with cheese, can seem impossible. We got talking with Richa Gupta of My Food Story, and she shared her secret to creating the ultimate wine and cheese board on a budget.
Over to her now.
Everyone wishes they were Martha – I sure do. Every time I looked at wine and cheese platters on the Internet there was major awe and respect for people who attempted those cheese boards and made them look so effortlessly beautiful. Till I made my own one day and realized that it is – effortless, easy and takes zero work.
I’ve tried a ton of combinations in the last couple of months to bring to you this post – How to make the Ultimate Wine & Cheese Board on a budget. Because wine and cheese boards can be expensive and can seem completely out of reach.
But I have some tips here for you to make the ultimate wine and cheese board which is affordable, delicious and will have everyone thinking that you really are Martha!
What to consider before you start building the Wine & Cheese Board?
How many people are you inviting? Everyone of your friends may not appreciate a wine and cheese board because all of us have those beer guzzling, wing chomping friends. So, pick your guest list carefully and invite a select group of people. If you are serving the wine and cheese board as an appetizer or hors d’oeuvre, you’ll need about 20-30 grams per person (1 to 1.5 ounces)
Are there any cheese you want to avoid or definitely include? After all you are the host/ hostess here so if you absolutely love a particular cheese or hate it, you can alter the choices accordingly
Are you serving other appetizers at the party? Every time I’ve dished out a wine and cheese board I’ve realized too late that the three other appetizers I made have been practically untouched. An ultimate cheese platter gives you everything – cheese, crackers, breads, fruits, charcuterie (cold cuts of meat), salty nibbles etc. So, at the end, most people don’t have an appetite for other snacks if they’ve snacked on everything on the cheese board.
What wines are you serving? Great wine tastes even better with cheese. In fact, any wine tastes better with cheese. I’m no connoisseur, but duh, even I know that. Choosing your wines first to determine what cheeses would go with it or vice versa will always make sure things come together, and your wine and cheese are not at odds
What’s your budget? We are definitely focusing on building a wine and cheese board that doesn’t make a dent in our pocket here, but knowing what your budget is beforehand can really help make the right decisions. Because it’s so easy to go overboard with one of these. There is really no limit to expensive.
Once you’ve figured this out, you are ready to make the ultimate wine and cheese board on a budget and here’s everything you need to put it together.
Step #1: Pick a base for your Cheese Board
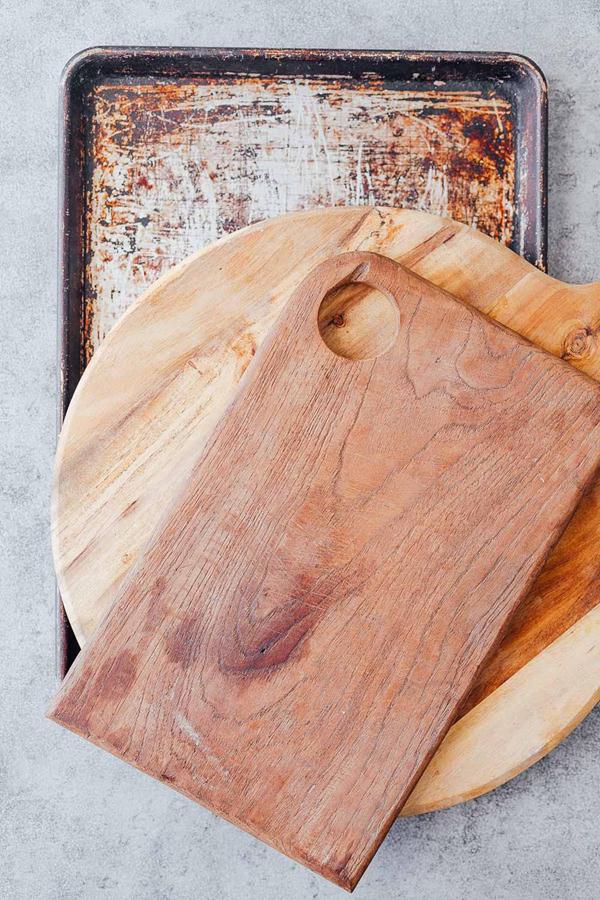
You really don’t need a specialty base or one of those fancy slates for your cheese board. Look around the house and you’ll definitely find something. Old cutting boards, pizza boards and even old baking sheets can all make great bases for cheese boards. I love using this old pizza board that has a handle so it makes serving easier.
Step #2: Pick your cheese and arrange them
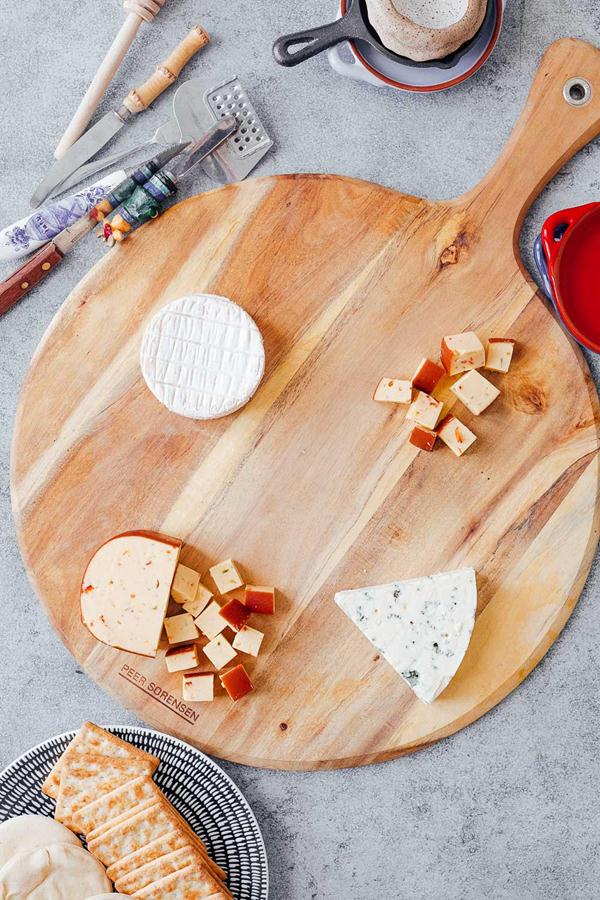
This is my favorite part (obviously). To get the best bargain deals on your cheeses, which can turn out to be the most expensive part, head to a large supermarket in your area. They usually have a cheese counter and also have a cold storage section. Check out both and compare for the best deals. I usually buy a combination of three cheeses – soft and mild (brie, camembert, fresh mozzarella, burrata or even cream cheese), crumbly stinky cheese (Danish blue, gorgonzolaetc.), and a hard, full bodied cheese (cheddar, gouda, edam etc.)
Most supermarkets will allow you to taste the cheeses before you buy. I’ve also noticed that some flavored cheese can be cheaper to buy than the unflavored ones, possibly because they are slightly more processed.
The prices in the fresh cheese section versus the frozen foods or cold storage section will also vary greatly. I’ve always found great deals on more expensive cheeses such as the Danish Blue (a mild variety of blue cheese) and Brie in the frozen foods section vs. the cheese counter. These will be packaged and imported but still taste amazing.
I’m more of a pile-it-on kind of person so I prefer keeping whole blocks of cheeses on the board rather than cutting them and arranging. I also think it looks prettier. Offer your guests cheese knives (if you have them) or smaller knives to cut through the cheeses.
Step #3: Add Charcuterie (Cold Cuts) and Nuts
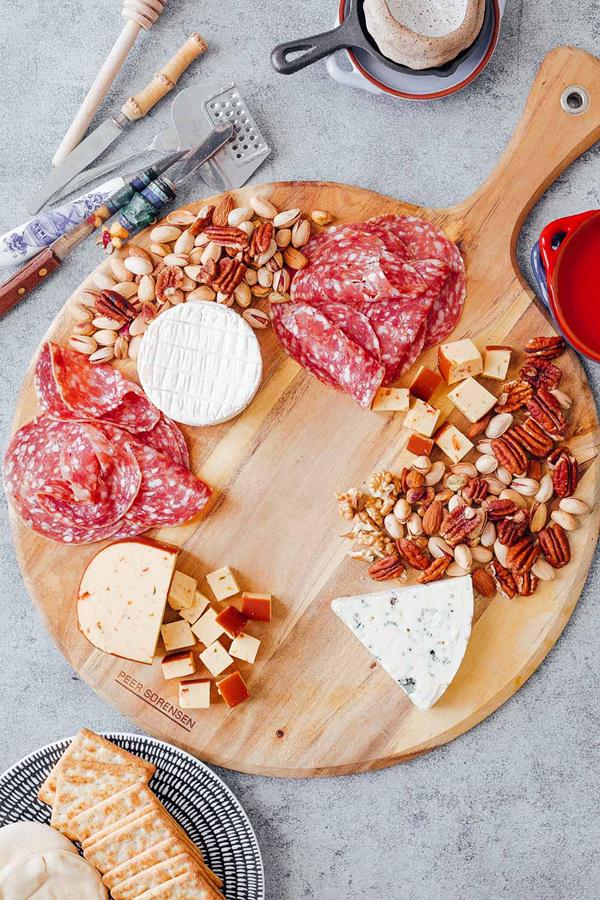
Charcuterie or cold cuts can also get really expensive when putting together a cheese board. I like sticking with only one variety and arranging it in two different parts of the board to give the impression that there are two options. When it comes to choosing, salami is the most affordable and you can ask the butcher to cut it in really thin slices. Pre-cut meats can also work out to be cheaper sometimes.
Nuts can really help fill up the spaces, and after their fill of cheese, crackers and salami, your guests will love snacking on the nuts and shelling the pistachios.
Step #4: Add salty nibbles from your fridge/pantry
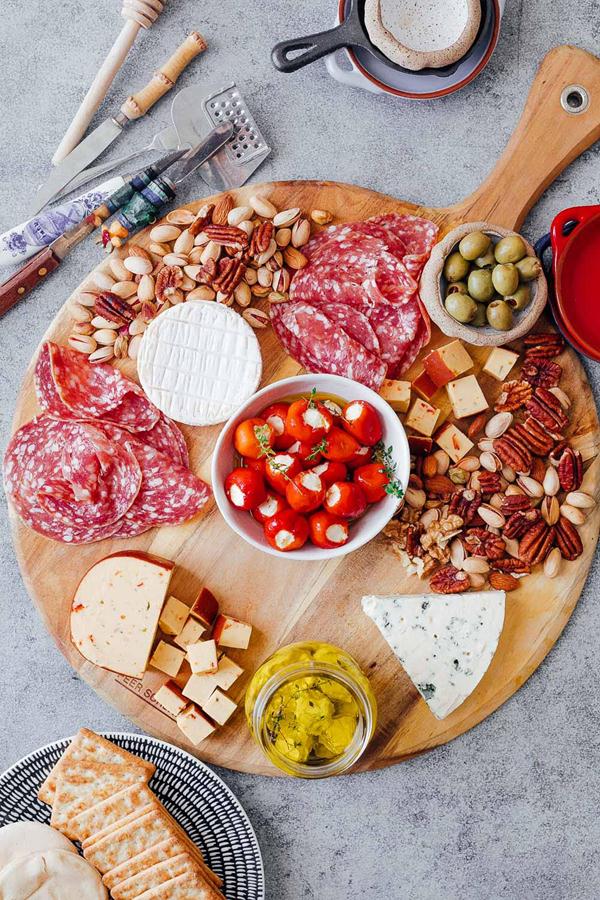
At this point, your board looks about half way full. It’s time to go through your fridge and see what may be hiding there. Most people have unfinished jars or olives, pickles, stuffed peppers of some kinds etc. Just dump these in small, pretty looking bowls and arrange them on the cheese board. They don’t need to be the best quality but these salty nibbles keep people snacking and add to the variety.
Step #5: Add sweet things and fruits
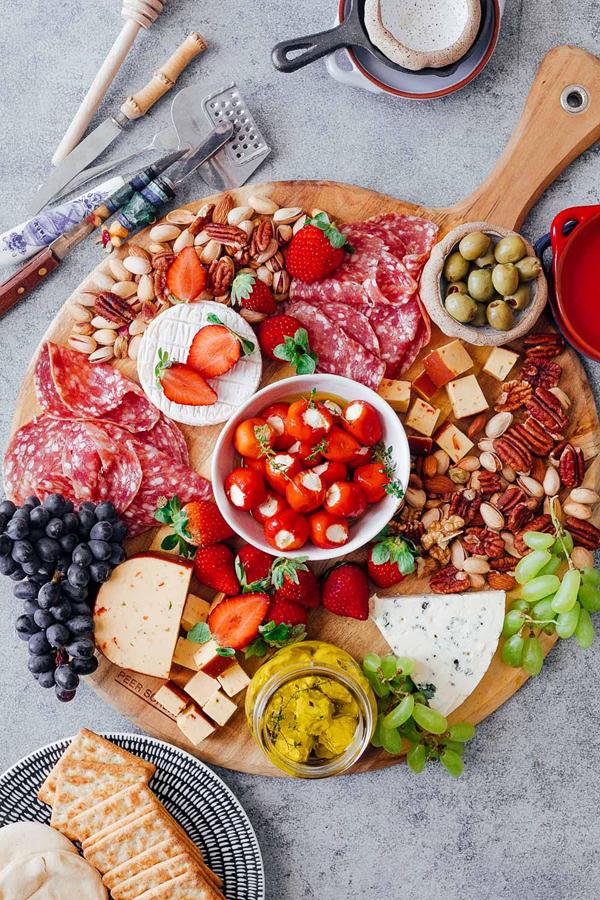
In my opinion, fruits are an absolute must for a cheese board. Every single time I’m done with all the cheeses at a party, I reach out for the fruits and they are so refreshing. You are going to welcome the sweetness and the balance. To keep things affordable, pick fruits that are already in season so that you get them cheap.
Step #6: Add crackers and breads to scoop things up
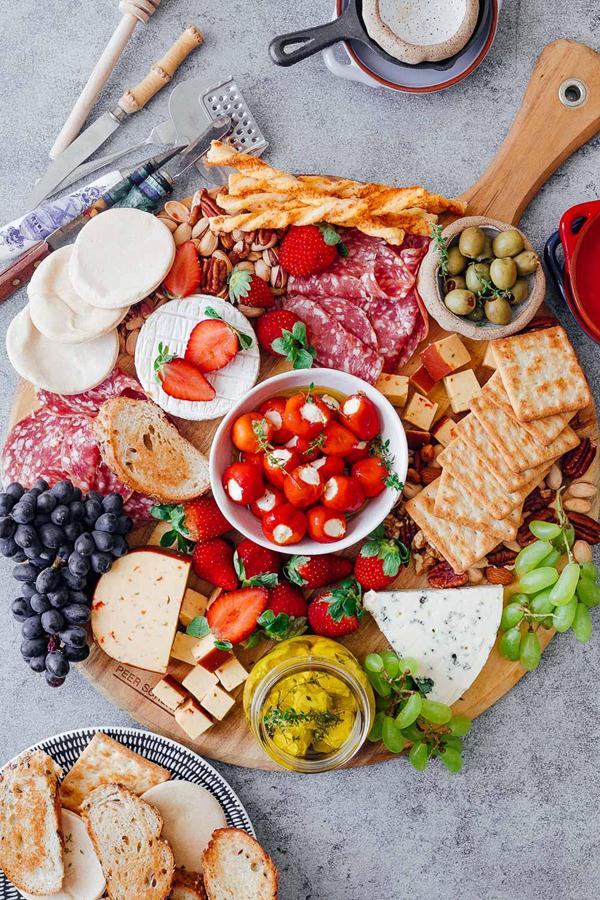
Believe me, you don’t need to spend a lot on this section. I picked the cheapest crackers I could find – Cream Crackers which are really mild flavored crackers. I also bought some breadsticks from a bakery around the corner and a loaf of seeded multigrain bread. The bread was toasted on a pan with a little olive oil.
Step #7: Pick your wine
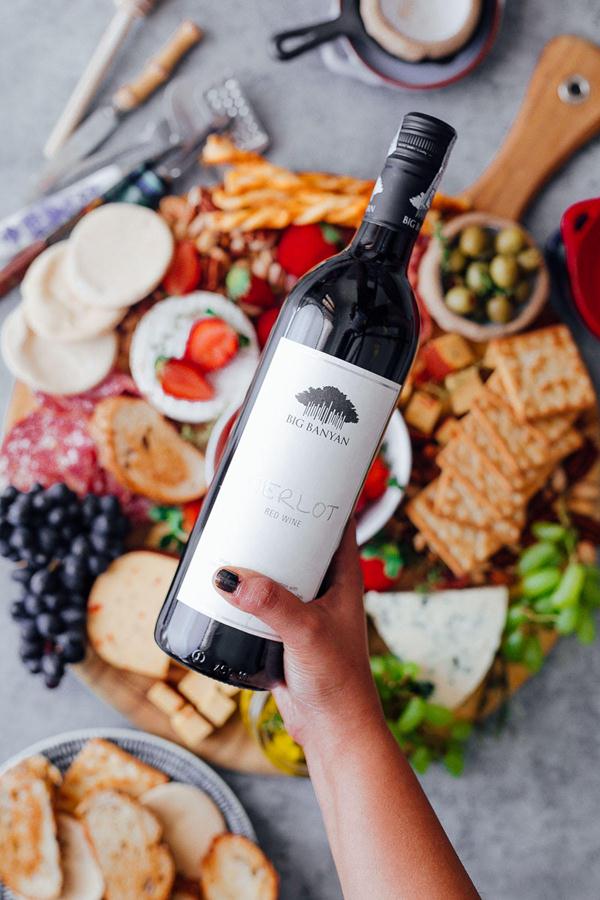
This can either be Step #1 or Step #8. I picked my cheeses first and then picked the wines to go with them. It’s always best to provide options for both red wine and white wine to your guests. With a little research, you can also recommend which wine goes with what. We picked a variety of wines from Big Banyan – Merlot, Cabernet Sauvignon and Chardonnay, and their dessert wine, Bellissima.
The Merlot is a dry, medium bodied wine with practically goes with everything, except fish and leafy green vegetables. It’s important to have a wine like that in your list so that it’s a choice that anyone can opt for.
The Cabernet Sauvignon is another red which has hints of eucalyptus, fruit and oak. It’s a full bodied, dry wine that goes really well with strong pungent cheeses like the Danish Blue.
The Chardonnay is a white which has fruity tropical aromas and hints of hazelnut and crème brulee. It works really well with soft, milder cheeses like brie or goats cheese. It’s also pairs well with fruits, nuts and smoked salami.
The Bellissima is a dessert wine which has fruity fragrances of apricots and pears in full bloom. It has a soft, smooth finish and feels velvety on the first sip. The sweetness of the wine pairs well with the salty tartness of the cheese. If you’ve got a blue cheese, or something pungent make sure you have the Bellissima ready.
If you’ve actually made it this far, I’d say you are more than ready to build your own Ultimate Wine and Cheese Board on a budget. You really don’t need expensive ingredients to make the most amazing cheese platter. All you need is a little creativity, a lot of fun and some good wines to make everyone go wow! If you use my tips to make the ultimate cheese platter for your next party, don’t forget to take a picture and tag me (@my_foodstory) on Instagram so that we can both marvel at how easy it was!
This post was created in partnership with My Food Story and first appeared on www.myfoodstory.com